


Hey everyone!
I’ve been getting a ton of positive feedback on the cameras I’ve shared on YouTube and TikTok — so I decided to launch this page to give you something deeper: detailed tutorials so you can build your own DIY cameras.
This post is a deep dive into the first project that kicked it all off — the Yashica Electro 35 digital conversion, which was even featured on PetaPixel. And the best part? This is just the start — I’ll be sharing new camera hacks and builds here every week.
The Origin Story: COVID Project → Digital Camera Hack
A couple of years ago, when I was stuck at home with COVID, I decided to challenge myself. I had a broken Yashica Electro 35 sitting on the shelf and a Raspberry Pi — so I thought, why not try converting it into a working digital camera?
The result: a gorgeous hybrid of vintage film body + modern digital components.

The Core Build Components
Let me break down the essential parts of this build:
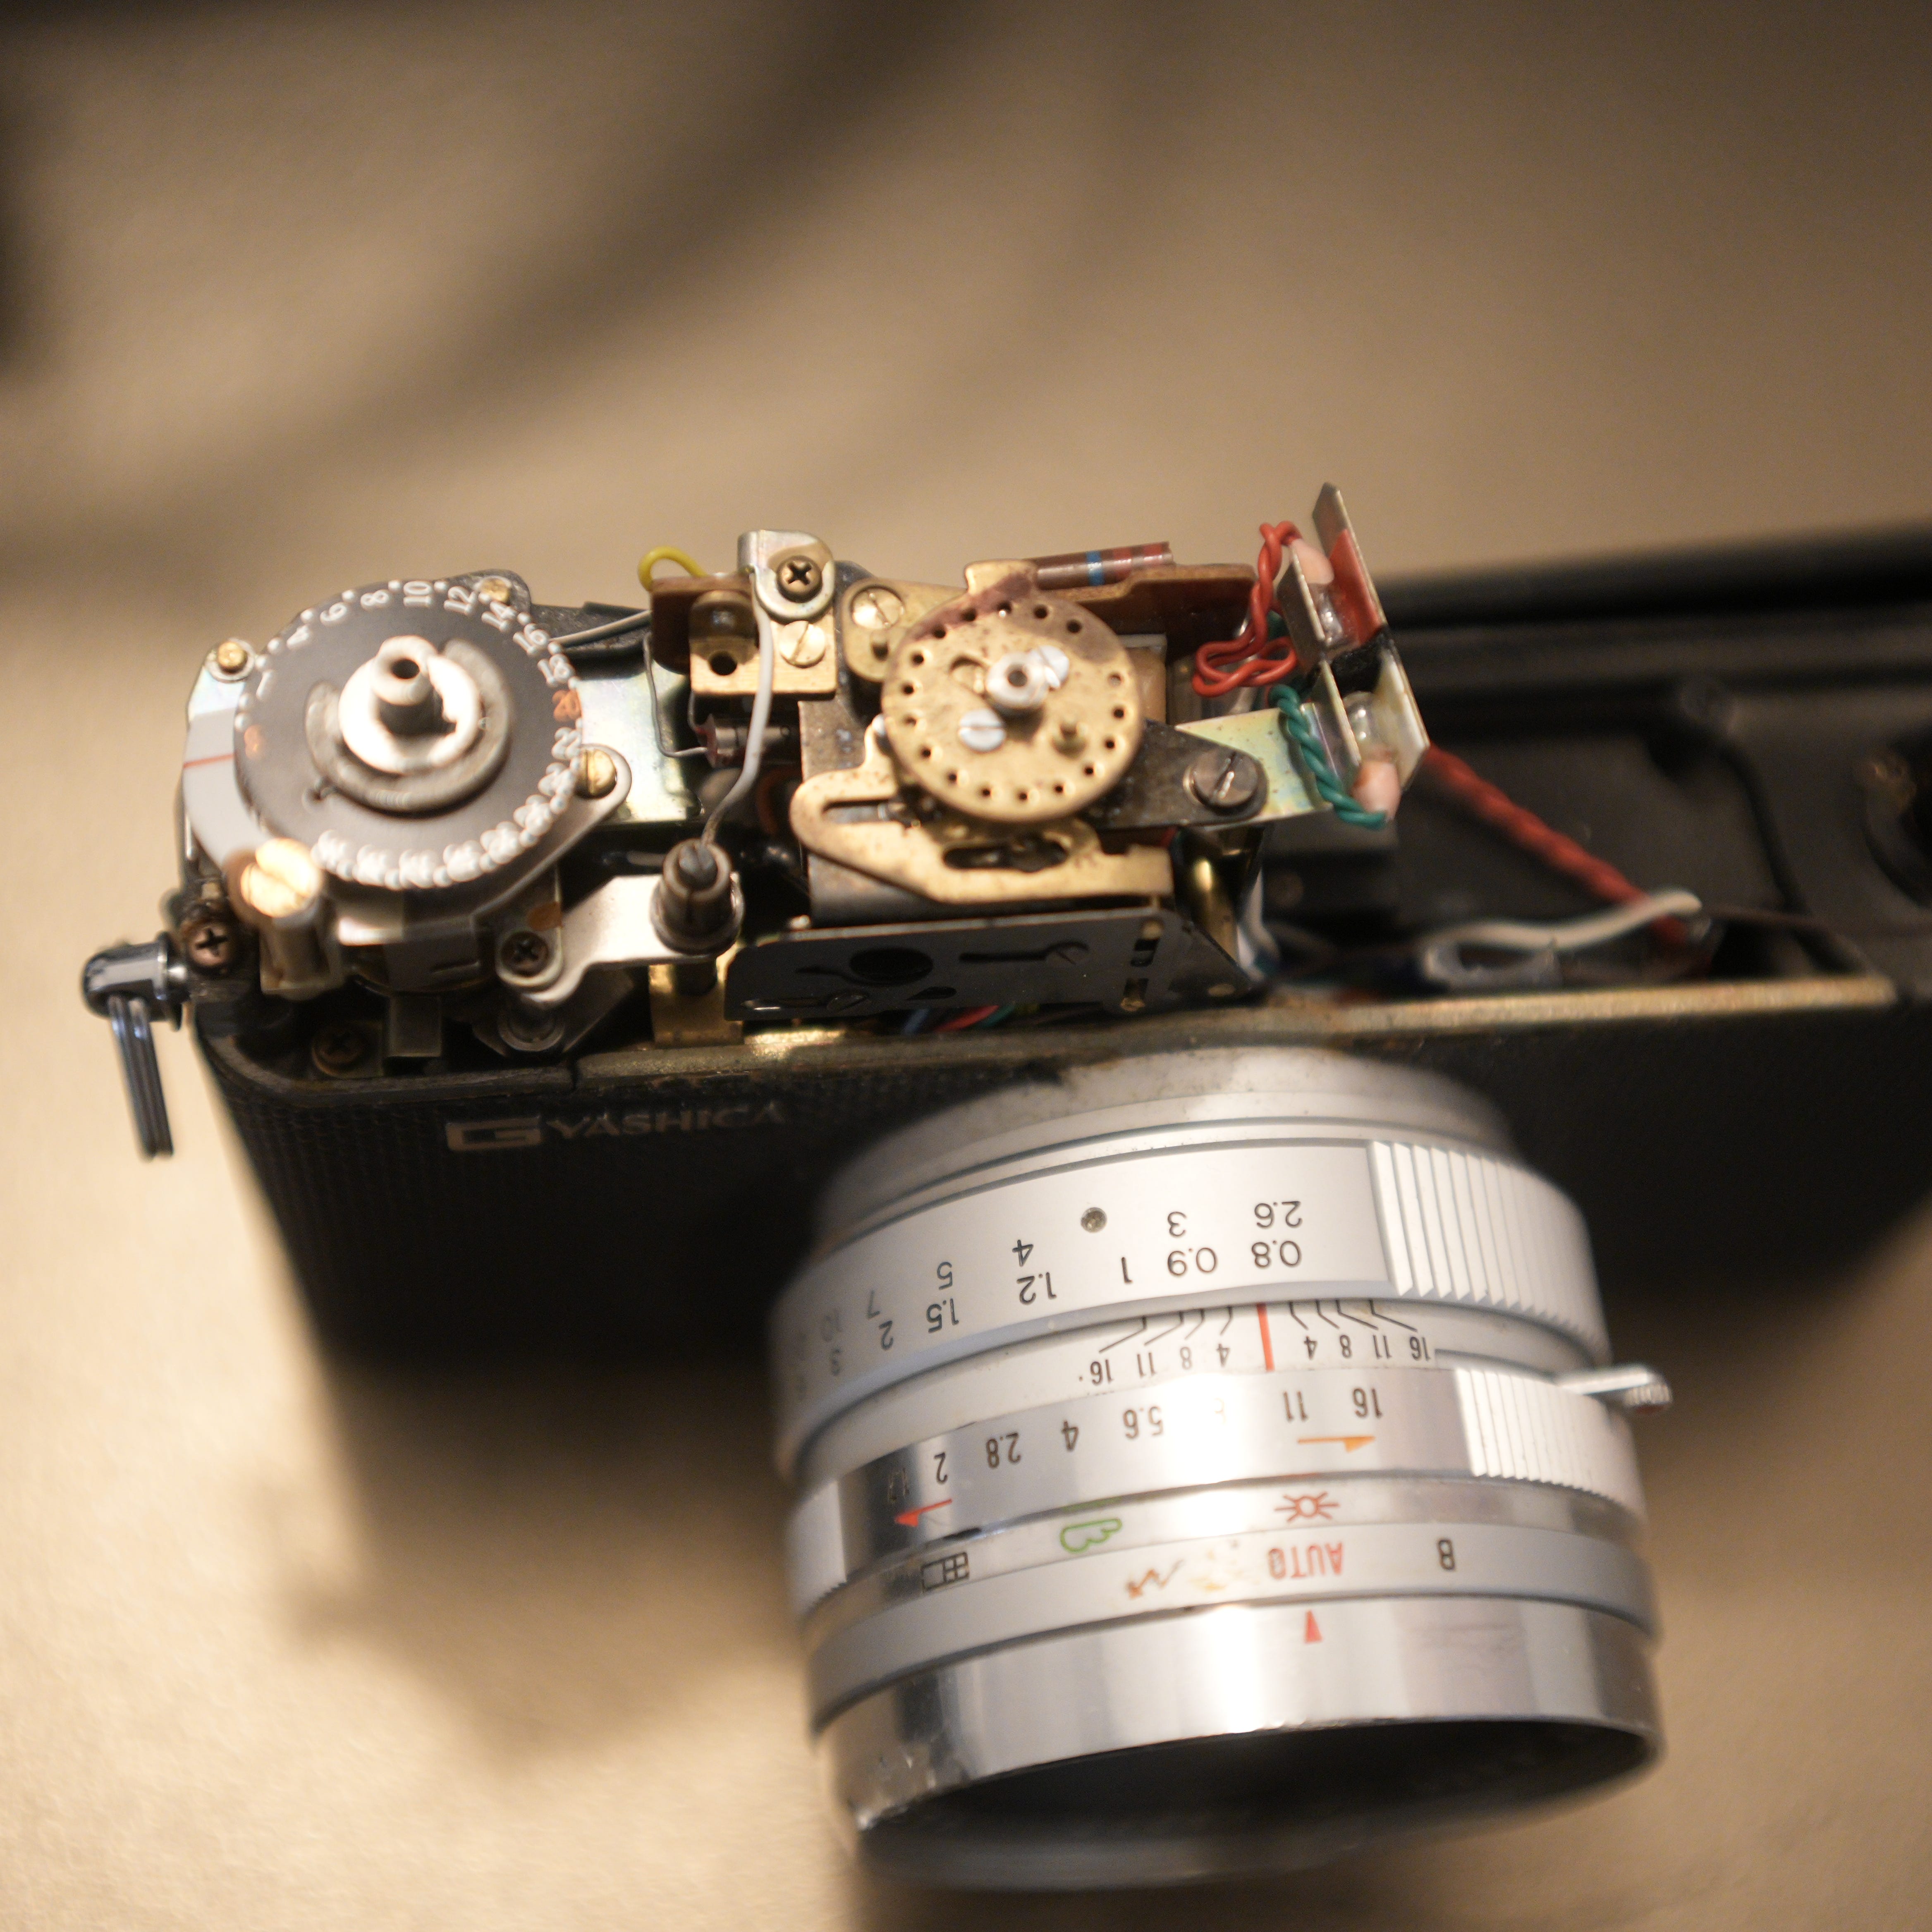
Manual Focus Lens → The original lens works like a mirrorless system, letting you control aperture and focus.
Digital Screen → I replaced the film back with a 3.5" Raspberry Pi-compatible display.
Single Control Button → One button controls both the shutter (press) and shutter speed (rotate).
USB Port → Stores all images and runs the code; you can pull the USB and edit your shots on a computer or phone.
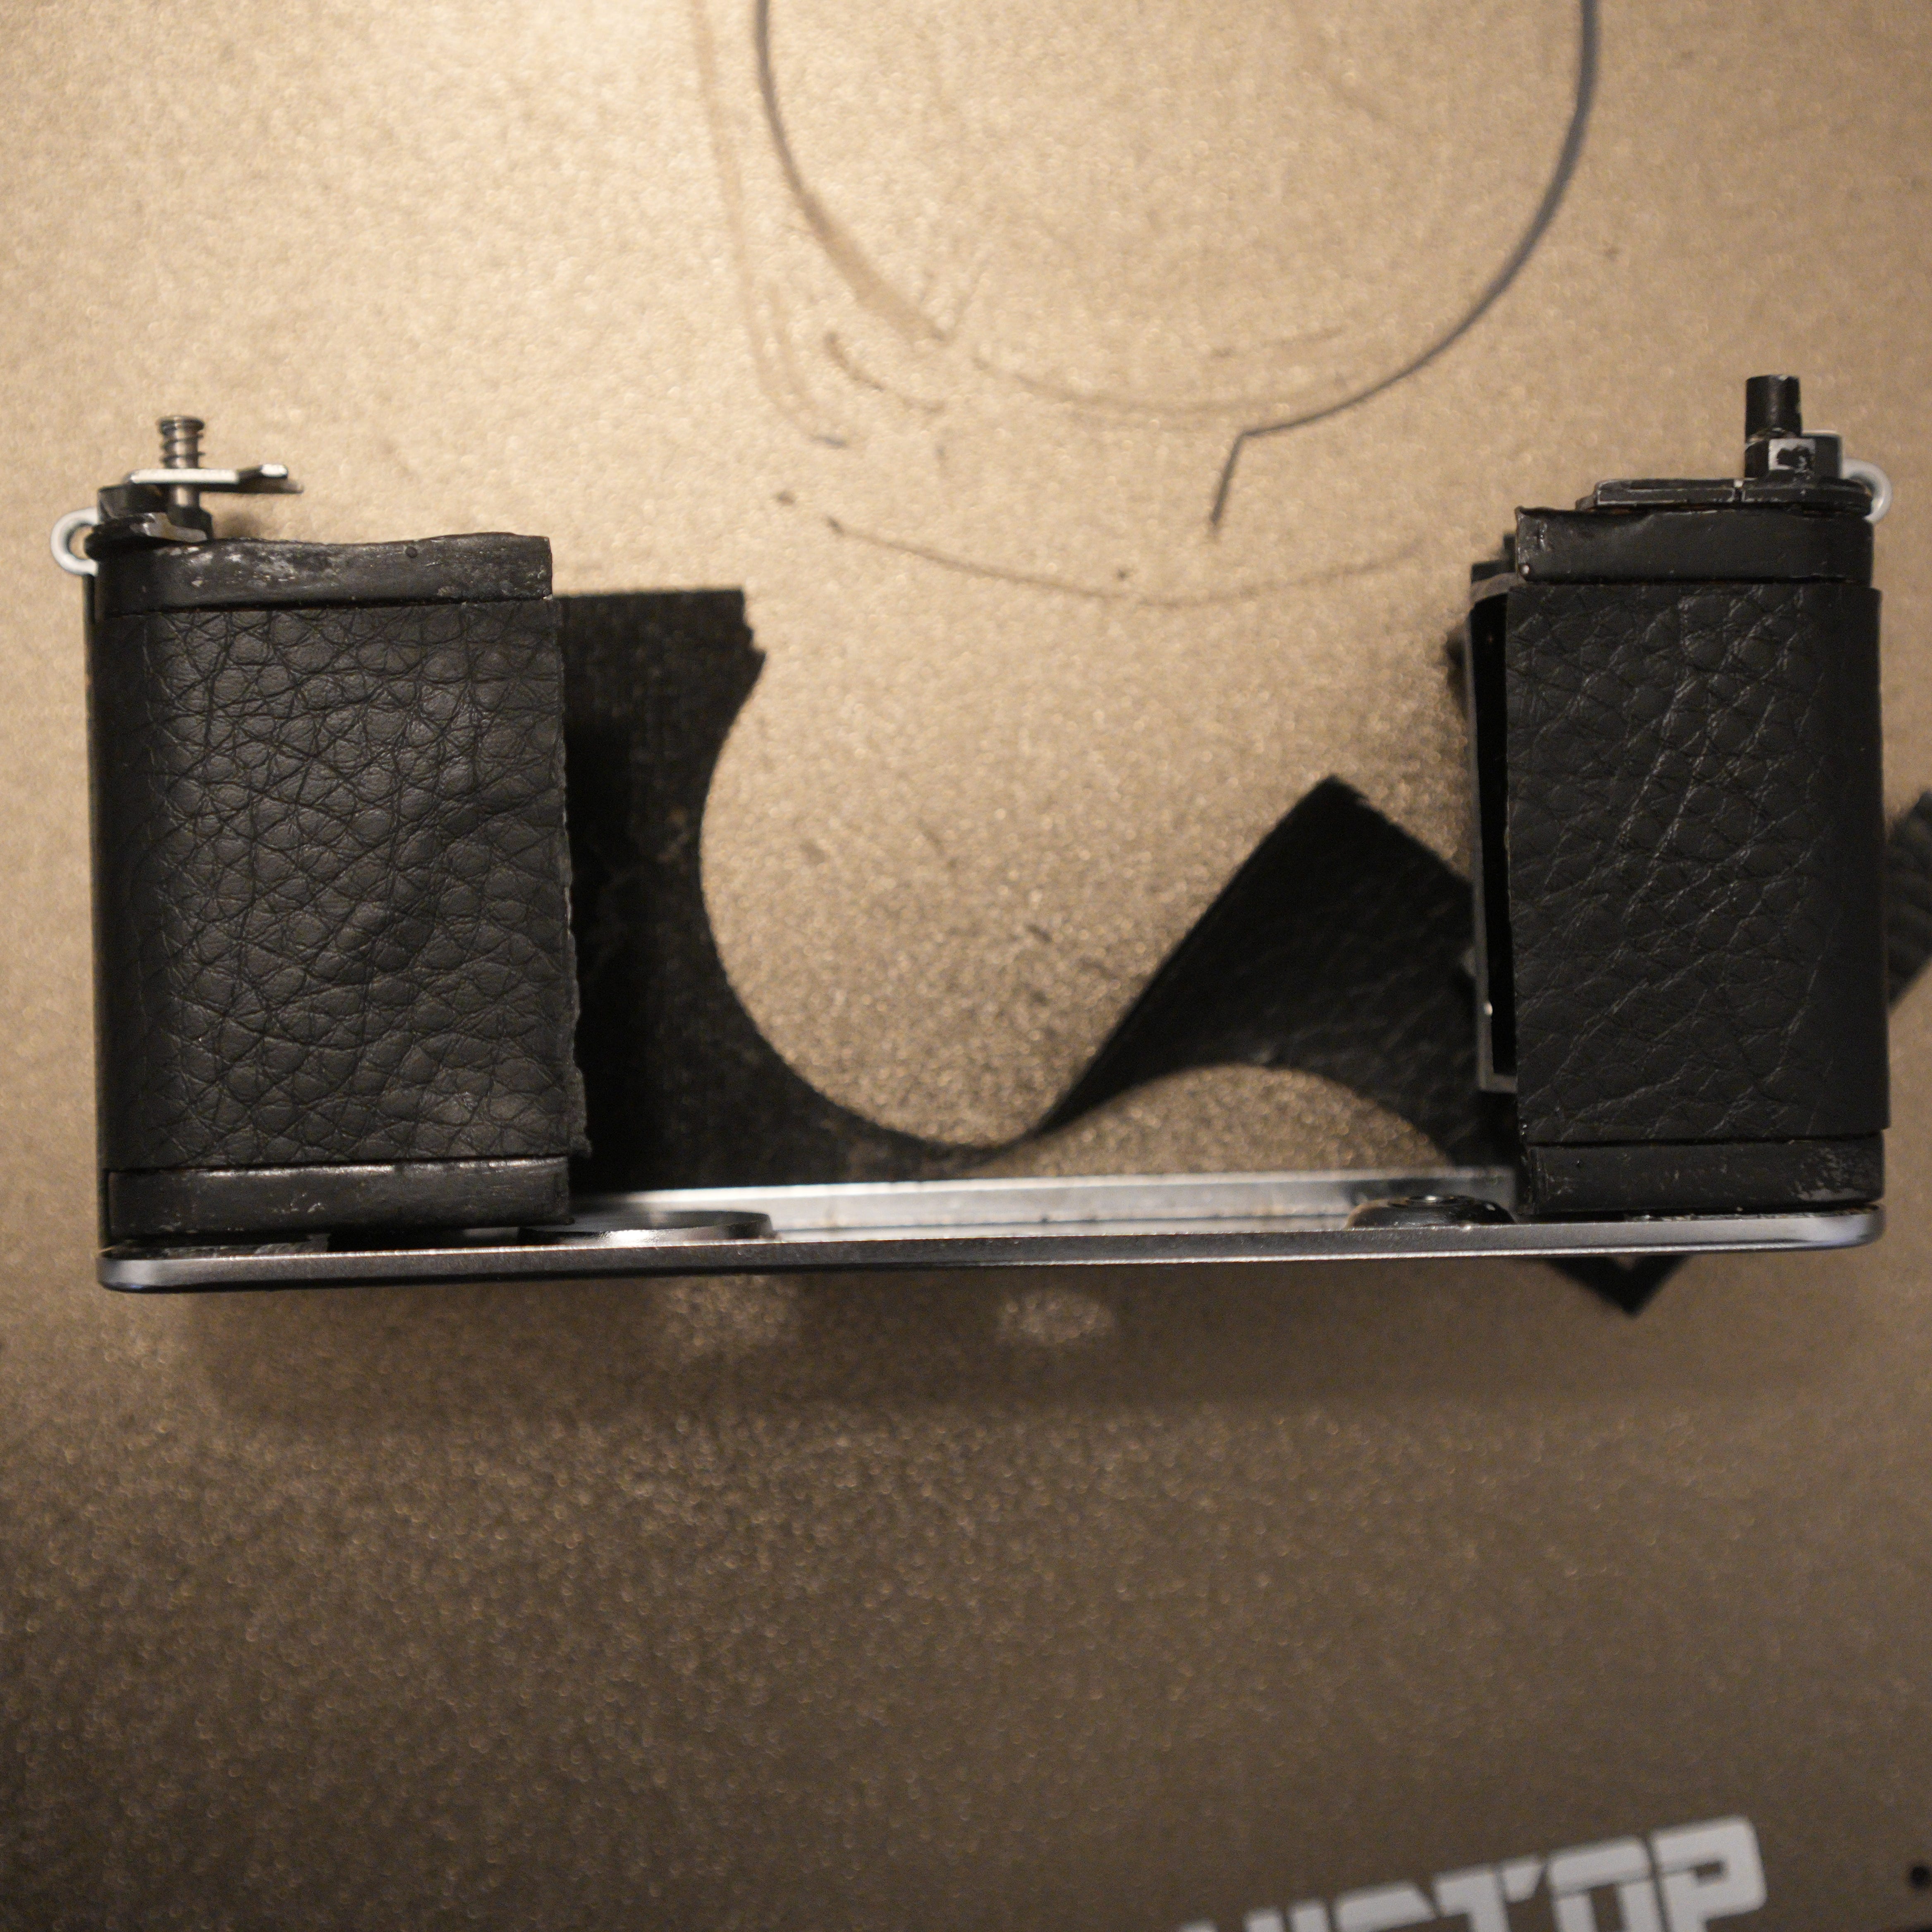
Battery → Powered by a standard rechargeable 18650 battery, housed inside a custom 3D-printed bottom piece.
How It Works
This camera operates like a simplified point-and-shoot:
Auto ISO, set by the system.
Manual aperture + shutter speed control.
Simple, user-friendly UI on the back screen.
Press the shutter button to take a shot. Rotate it to change shutter speed. Hold it for 5+ seconds to trigger a safe system shutdown.
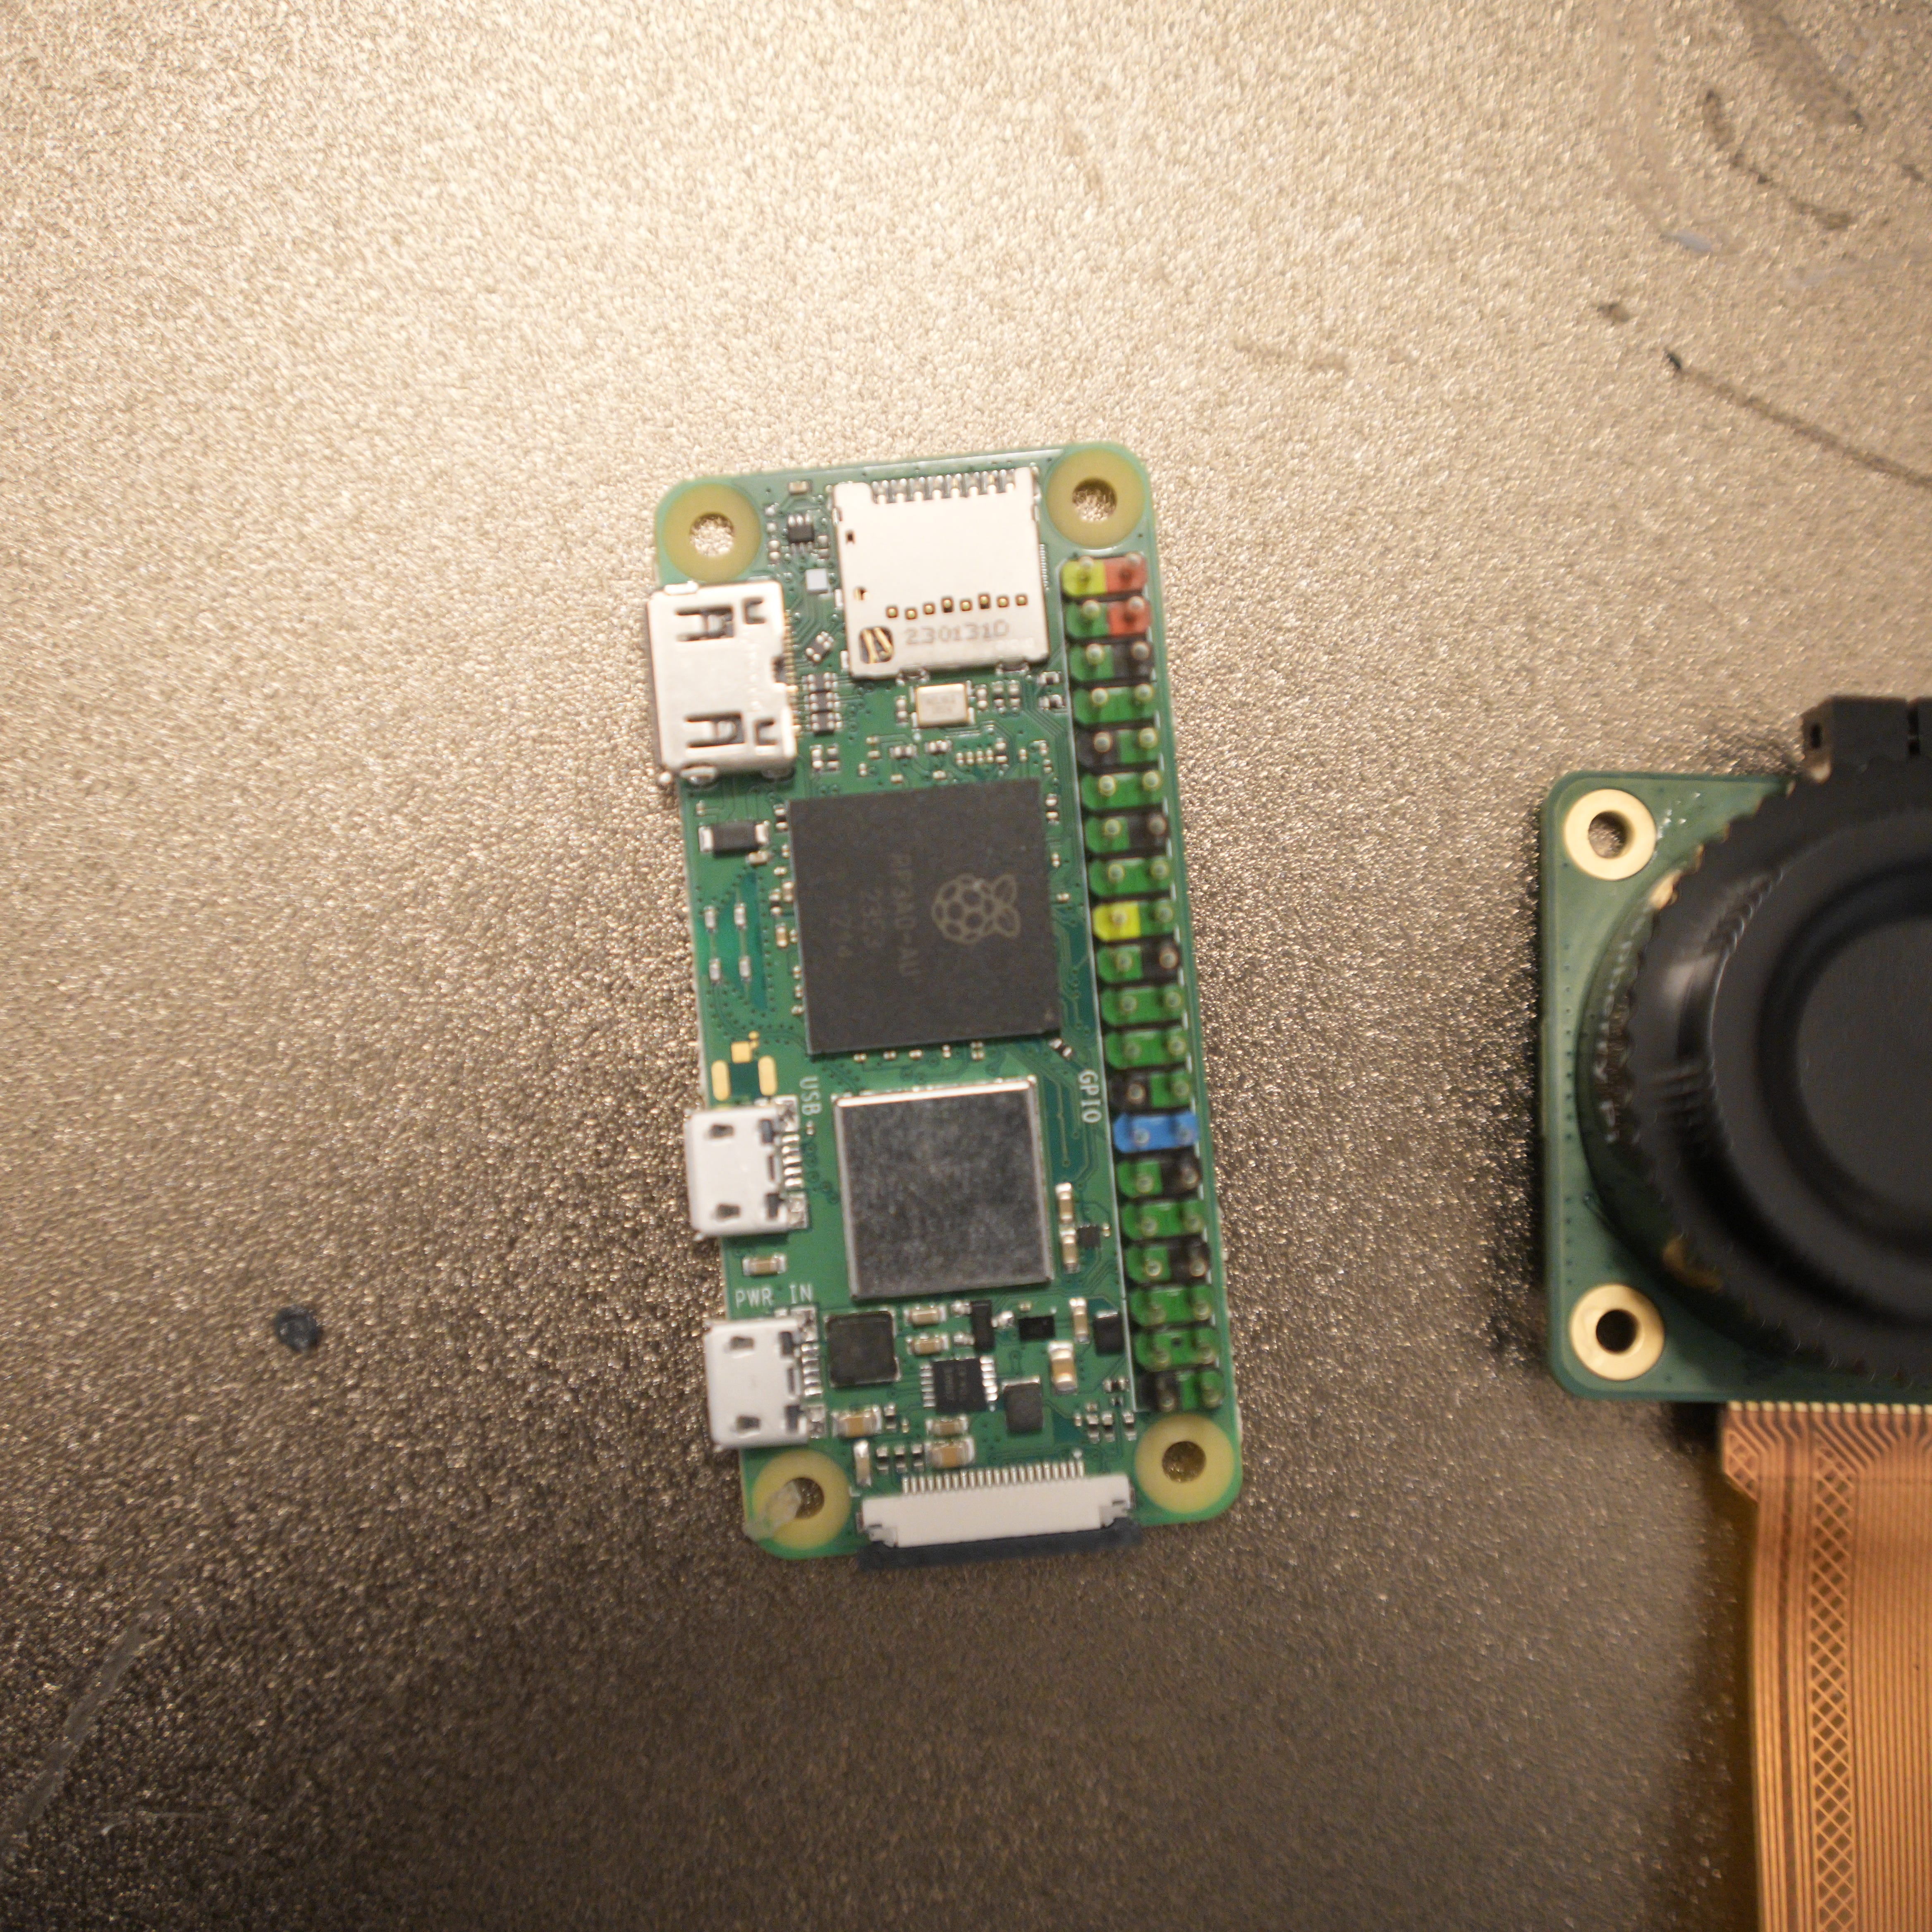
The Hardware Inside
Raspberry Pi HQ Camera Module → This tiny sensor is the heart of the system, adaptable with C-mount and CS-mount lenses.
Raspberry Pi Zero 2 → Chosen for its small form factor and solid processing power — don’t bother with the older models!
Touchscreen Display → 3.5" screen from Amazon, selected after lots of trial and error.
Momentary + Rotary Switches → Standard electronic components, easy to source.
Custom 3D-Printed Mounts → To house the Pi, battery, and camera sensor snugly inside the body.
Modifying the Camera Body
This part takes the most labor.
Disassemble the Camera → Remove all film-era internals (lens, electronics, dials) carefully.
Cut Open the Back → Use a hacksaw (safer than bigger power tools if you’re new) to make space for the screen.
Cut the Front + Inside → Clear space for the Raspberry Pi and camera sensor, while keeping the body structurally sound.
Install Components → Fit the Raspberry Pi, wiring, and mounts inside.
Test and Seal → Ensure everything’s aligned, functional, and secure.
I highly recommend starting with non-valuable film bodies like the Yashica Electro — don’t tear apart a Leica or anything rare and repairable!
Bill of Materials + Build Resources
Link to Bill of Material: BOM
This will help you follow along and build your own with confidence.
What’s Coming Next
This is just the first in a weekly series of camera hacks, builds, and deep dives I’ll share here.
Next up:
→ A detailed breakdown of the Python code + software driving the camera
→ Advanced lens hacks, including adapting full-frame lenses
→ More 3D print files, wiring diagrams, and insider tips
Let’s Build This Community Together
If you have questions, want guidance, or need help sourcing parts, feel free to message me here.
I’m excited to build this DIY camera community with you all — and I can’t wait to share even more projects in the weeks ahead.
Stay tuned, and let’s get hacking!

Share this post